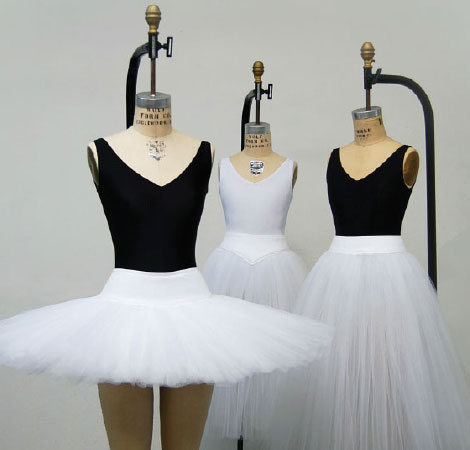
How to Finish Your Tutu
When your Tutu Arrives
Your tutu will arrive folded or rolled in a plastic bag. Remove the tutu, shake it out and set aside the package of hooks and eyes. If it is a classical tutu set it on a flat surface and smooth out the layers. If it is a romantic tutu pull the hanging loops thru the panty legs and hang upside down. Any folds and creases will naturally fall out over a few hours. A light steam iron can be used to quickly get rid of any creases but DO NOT let the hot iron surface rest on the nylon net or tulle as it will melt the fabric.
Attaching Hooks and Eyes
Make sure you have a needle, thread, pins (either straight pins or safety pins) and either a light pencil or disappearing fabric marker for marking hook and eye placement.
Step 1
- Have dancer put on tutu.
- Pull back tightly to close and pin in place.
- Mark where right side of basque meets left side with pins or disappearing marker. Note: this may not be exactly straight up and down which is fine.
- Tighten leg elastics to fit snugly but comfortably. These can then be knotted and trimmed or stitched closed and trimmed.
- Unpin tutu from dancer and remove (make sure to keep the pins marking where right side meets left if not using pen).
Step 2
- Mark right side of basque for hooks (this is the side with the boning).
- The most important places are the stress points - waist, seam where panty is sewn to basque and halfway down into panty.
- Stitch hooks in place. Note: make sure to stitch securely as these must hold up to the stress of dancing.
Step 3
- Pin right side to left side as if closed and mark where loops should be placed.
- Fold back the extra fabric on the left side to create a double layer to stitch thru and provide extra support for the eyes.
- Stitch loops in place. Note: make sure to stitch securely as these must hold up to the stress of dancing.
Fitting a Conservatory Bodice to the Tutu
All Conservatory bodices are designed to work with all styles of Conservatory Tutus.
With a C700 - the bodice point should sit at the edge of the tutu basque and sit slightly higher around the sides and back.
With a C709 - the bodice point will sit into the tutu layers slightly and completely cover the basque at the sides and back.
With a C600 - the bodice point will sit into the tutu layers slightly and completely cover the basque at the sides and back.
With a C400 - the bodice point, sides and back will sit over the skirt and waistband.
Step 1
- With the tutu on the dancer place the bodice on so that the center front matches where it should.
- Pull back tightly to close and pin in place.
- Mark where right side of bodice meets left side with pins or disappearing marker. Note: this may not be exactly straight up and down which is fine.
- Pull straps into place and pin.
Step 2
- Pin around bottom edge of bodice to tutu basque.
- Pull drawstring ribbon in to pull bodice in around upper edge if needed. Stitch or knot in place.
- Unpin tutu from dancer and remove (make sure to keep the pins marking where right side meets left if not using pen and attaching bodice to tutu basque).
- Follow instructions above for stitching on hooks and eyes.
Step 3
- Hand stitch (this can also be done with a sewing machine) the bodice to the tutu basque beginning and ending approx 2" from the center back opening - DO NOT stitch from back edge to edge as it would prohibit the hooks and eyes from being overlapped and closed.
- The bodice front can be completely stitched down or the front point area can be left open and an elastic joiner stitched in for ease of movement. SEE BELOW.
Step 4
- Stitch straps to inside of bodice where pinned making sure not to stitch thru drawstring ribbon. Cut off excess elastic and this can be used for an elastic joiner if desired.
- An elastic joiner can be stitched at the center of the basque to the center of the bodice. This enables more movement when dancing.

